
Repairing the headstock of an acoustic guitar
Here we describe the steps taken to repair the broken headstock of a nylon-string Yamaha electro-acoustic guitar. It broke completely into two separate pieces when it fell from it's stand. The decorative trim also broke, so had to be replaced and the company logo added.
As with any break the first thing to do is evaluate to see if both parts match exactly, whether it's a clean break and test to find the best place to locate clamps to avoid slippage of the parts during the gluing process which would produce a weaker joint
On this occasion the break is fairly clean and the two pieces match perfectly so we opted to use Titebond adhesive, although we could also have used hide glue (animal glue), epoxy resin, etc.
1. We set the clamps carefully to achieve a perfect join and waited a day or so for the adhesive to dry, then removed the clamps.
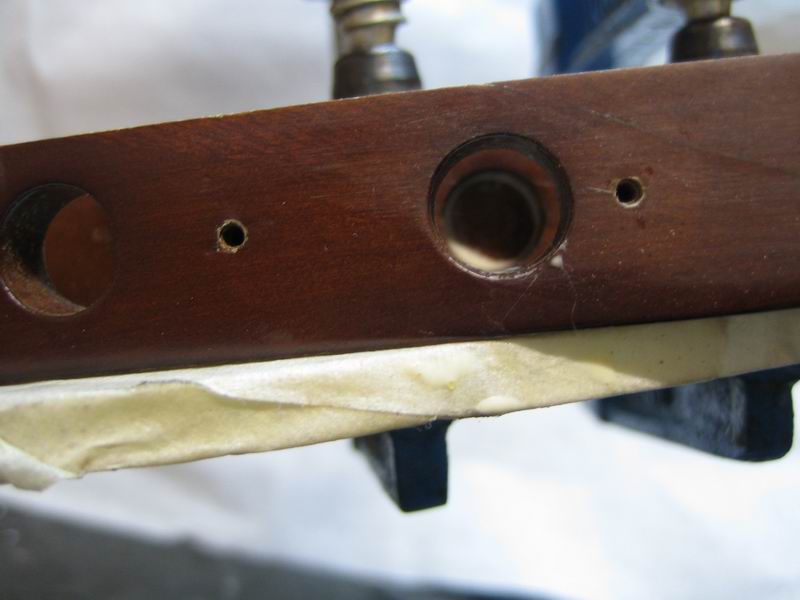
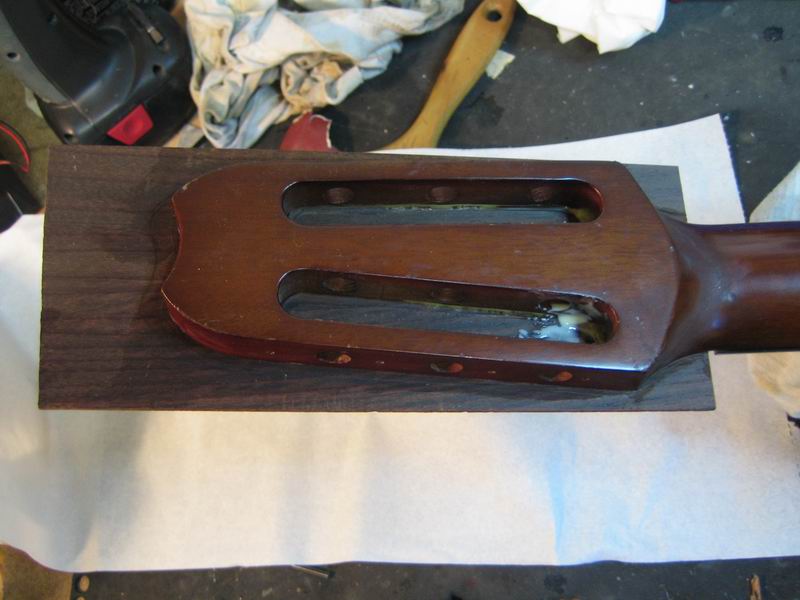
2. As you can see in picture 2, the hole for the machine head passes right through the headstock, reducing its strength, so we thought it best to strengthen that part of the headstock to prevent future breakages.
3. To do this we cut a slot for the reinforcement, this time with the router.


4. We prepared a fillet of wood to insert into the slot.
5. We glued in the reinforcement with Titebond . It is very important that it fits as tightly as possible in the slot.
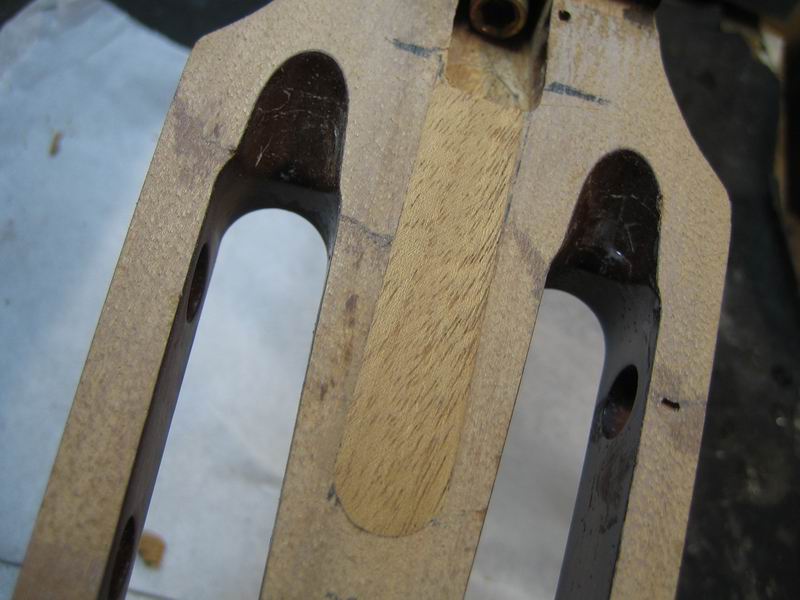
6. As you can see, we have covered the machine-head hole thereby reinforcing this weak point.


7. Once dry we removed the clamps
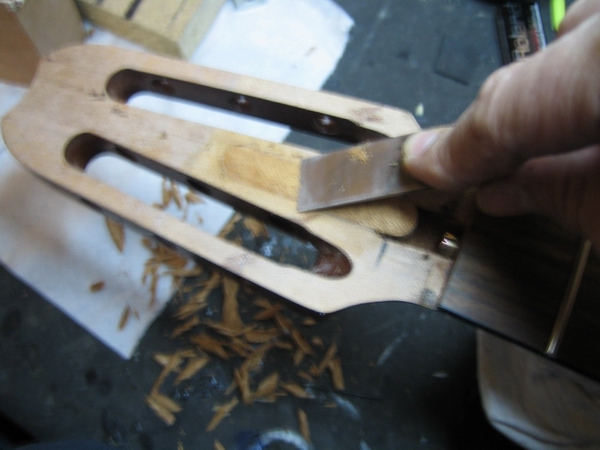
8 & 9 . We then removed any excess wood from the reinforcing strip by fine sanding until smooth.
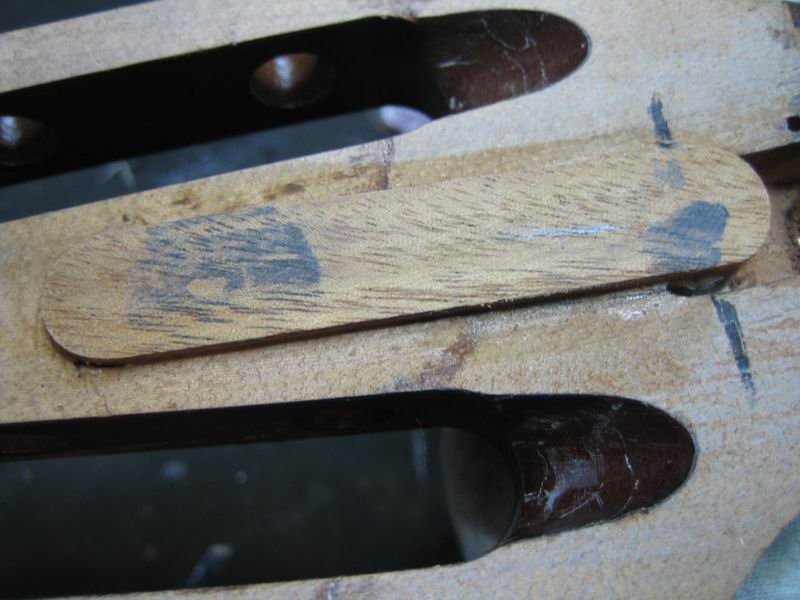
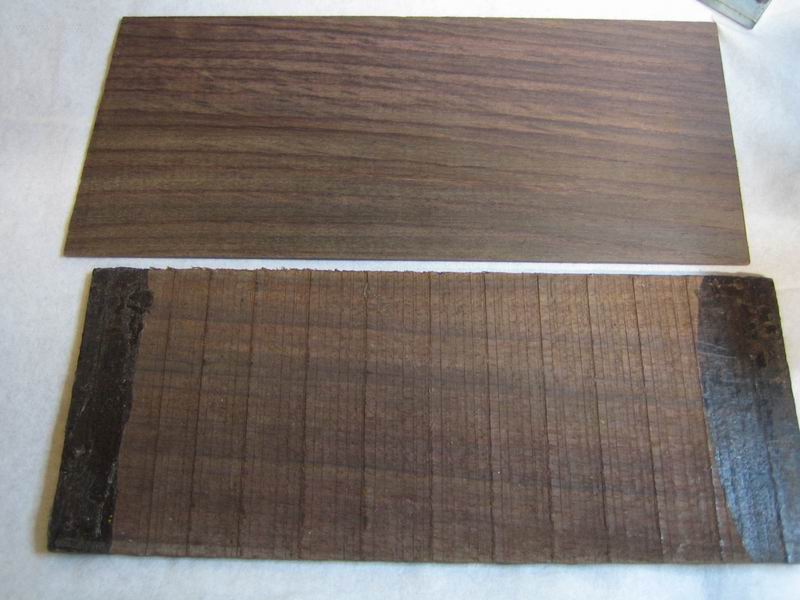
10. The next step was to prepare the trim for the on face of the headstock. We started with a block of wood that is sold unfinished and has to be reduced to the desired thickness of about 2 mm with a belt sander. In the picture you can see the before and after of using the sander.
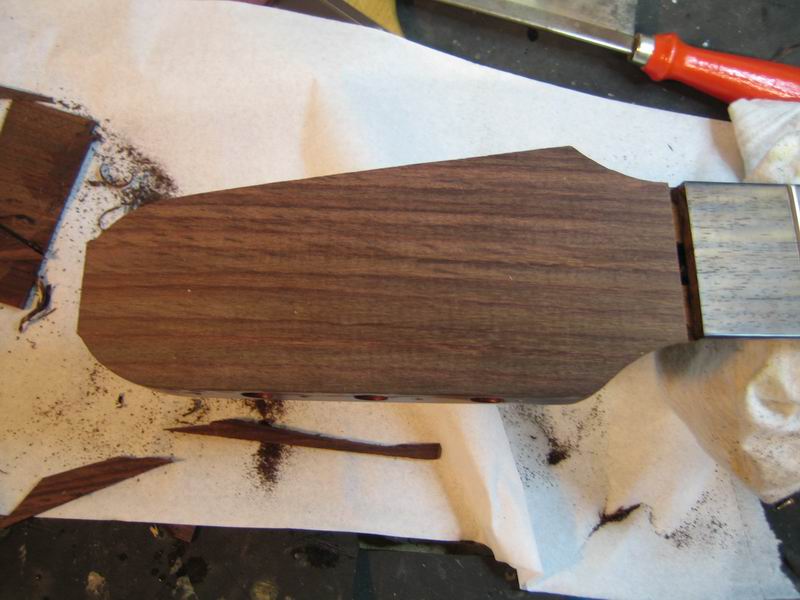
11. We glued the trim, holding it in place with a few clamps.
12. Here you can see the trim in place on the headstock.

13 & 14. The next step was to shape the trim to the headstock. This can be done in various ways. On this occasion we used used a chisel and files to shape roughly then sandpaper to finish off
15. The next thing was to hide the crack on the back of the headstock and refinish. We protected the fretboard and body of the guitar with masking tape so as not to stain them with varnish.


16. To disguise the break we blurred it with varnish and dye.
17. We inserted the company logo (in this case is was simple as the font is easy to find in Letraset).
18. The next step was to varnish the logo and the entire neck with a matt finish as per the original guitar.


19. End result: Strung and tuned and ready for action.
